Engine
As I mentioned in Part One, I'll be using the Quickboost engine insert for this model. It's a great piece of casting and I had planned to show it off on both sides however it has a false floor and I was afraid that opening up both engine cowlings would allow too much light in and it would look obvious. So, one side it is.
After priming with Aclad Black lacquer primer, the engine and bulkhead were painted with Vallejo Model Color acrylics. These brush paint very well and a few thin coats were all it took.
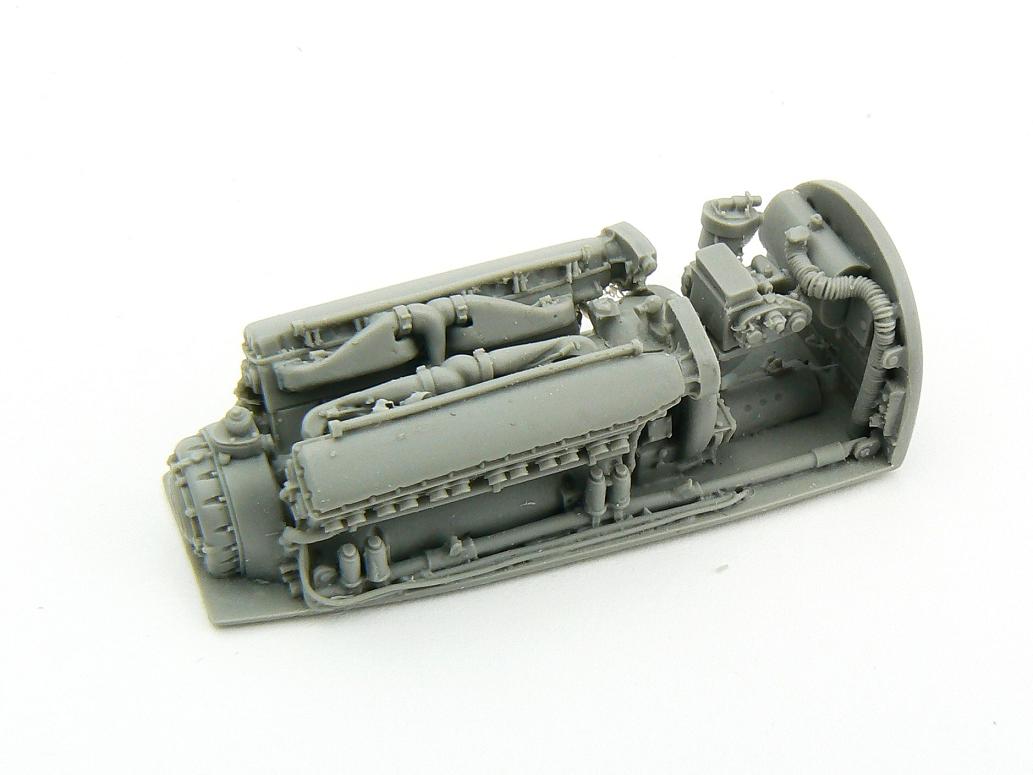

All that intricate detail is lost as the black is very dark, so in order to bring this out and impart a metallic sheen, the entire piece was dry brushed using Vallejo Model Air Aluminium. I did take care to avoid the braided hose however, this will be dealt with later.


If this was a normal service aircraft I probably would have left it at that however this is an abandoned aircraft in a scrap yard and therefore a bit more needs to be done. To give it a dusty, dirty feel AK Interactive Dark Earth pigment was dabbed on with a dry brush.


Also, I have added some more engine bearer supports and a little wiring to lift the detail still further. And that's the engine done.


Before I leave you, Airfix have just announced their new releases for 2013. http://www.airfix.com/airfix-products/new-for-2013/ There are some absolute gems in there although I have vowed not to buy or get any new kits in the whole of 2013. My stash is pushing 50 or so and I want to make a big dent in it next ear so despite the temptation (the Revell Royal Navy Lynx Mk. 3 being at the top of the list) I am going to abstain. It will be hard but I am determined to complete some projects I have got in my head first.
OK, that's it for Part Three. In the next installment I'll be closing up the fuselage halves before working on the wings.
I remain on my seat, wondering how many plane scrapyards you've visited, since this looks perfect!
ReplyDeleteEach detail is standing out with smooth transitions. Perfect!
Thank you so much for taking time to explain each step! It's very useful! ;)
Alex!